What is Indigo?
Indigo dye comes from two different plants: genus Indigofera tinctoria (tropical) and Persicaria tinctoria (temperate). The plant is naturally cultivated in India, China, Japan, Egypt, parts of Africa, and parts of the Americas. The dyeing process requires fermentation of the plant leaves with a base and a reducing agent that allows the dye to bind to the cloth. The indigo plant is unique in the range of blue hues it is able to produce. The precise colour of blue depends on the strength of the dye vat and the number of times the fabric is dipped in the vat. Indigo dye will only work with cellulose and protein fibres including wool, silk, cotton, hemp, nettle, and natural rayon.
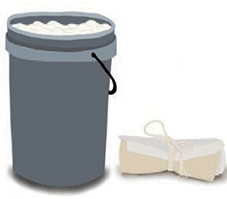
Step 1: Scour Cloth
Cloth has chemicals and different residues on it from the manufacturing process. It is important to clean the fabric so that the dye can penetrate the fibres. To scour, start with boiling fabric in a stainless steel pot. Alternatively you can use a tub or bucket with the hottest water from the tap.
Step 2: Build the Vat
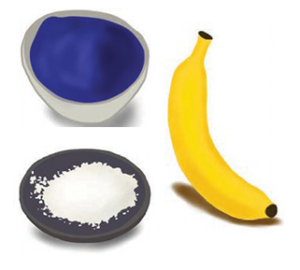
Three components are needed to build the indigo vat: calx or lime, fructose sugar or fruit, and the indigo powder or leaf.
Directions for an 8 L vat:
- Fill the dye container with 10 L of hot water
- Add 90 g of Calx or lime and stir to dissolve
- Add 30 g of Indigo powder and stir gently
- Add 60 g of Fructose powder continue to stir gently (avoid stirring too rapidly as this will add unwanted oxygen to the vat)
- Keep vat warm as it ferments, this will take anywhere from 1 – 48 hours. The longer it ferments the stronger the vat will be.
- The vat is ready when the surface has a bronzy finish and an indigo flower has formed on the surface.
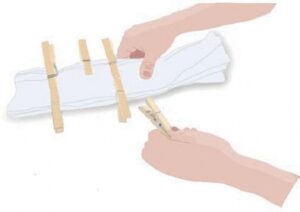
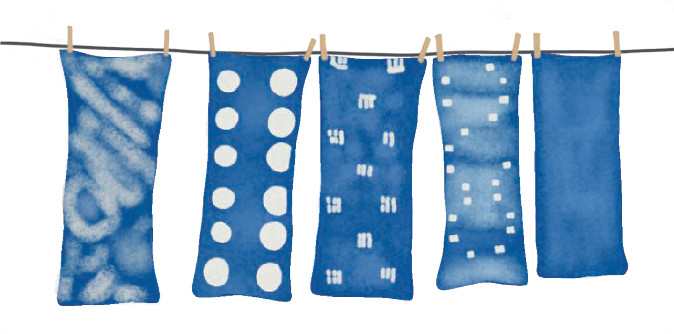
Step 3: Shibori (Resist Techniques)
Shibori tying and binding practices originate from Japan. There are several ways to tie or bind the fabric to create unique patterns. Tools that can be used are rubber bands, clothes pins, string, stones, or wood in combination with folding or tying the fabric around objects. Avoid using aluminum because it can affect the health of the indigo vat.
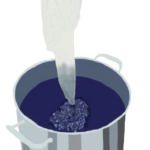
Step 4: Dip Cloth or Yarn
The fabric should be wet with warm water before dipping into the vat.
- Gently immerse the fabric into the indigo dye vat, and keep immersed for approximately 15-45 minutes, depending on the thickness of the fabric.
- Take the fabric out of the vat slowly to avoid bubbles that will cause oxygen. The fabric can be squeezed under the surface to avoid making bubbles.
Step 5: Reintroduce Oxygen
Oxygen is a necessary component of the indigo dyeing process – this is where the blue colour will come to life. Oxidization can be achieved through either air or water. If using water, submerge the fabric in cold water for at least 10 minutes. If using air, simply hang outside out of direct sunlight and let the fabric dry. To achieve a darker blue, repeat steps 4 and 5 until reaching the desired shade.
Step 6: Finishing the Cloth
1. Once desired shade is achieved the fabric should soak in a diluted vinegar bath. The ratio should be 15 ml of vinegar to 1 L of water.
2. Rinse with water and dry fabric completely.
3. Soak fabric in soap and vinegar solution.
Resources
https://www.valeriedwalker.com/
https://naturaldyes.ca/indigo
Indigo: Egyptian Mummies to Blue Jeans by Jenny Balfour-Paul